User Information
 Updated
by
Arianne G.
Updated
by
Arianne G.
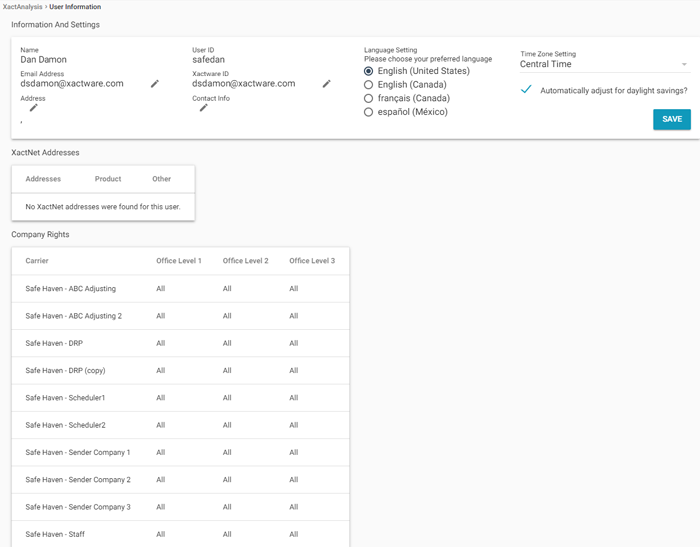
In User Information, you can view the following information about your XactAnalysis® Quality Review (QR) account: name, user ID, Xactware ID, profile picture, email address, user rights, XactNet addresses, and language settings. You can manage your Xactware ID information, profile picture, email address, password, and default language settings. To update your name, user ID, user rights, and add XactNet Addresses go to User Administration.
Related: Xactware ID Help, Manage Accounts
Access User Information
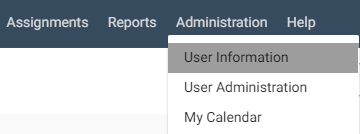
- To access the User Information page, select User Information from the Administration menu. The User Information page appears.
Change your profile picture
You can add a custom profile picture that displays in notifications. If you don't add a profile picture, your initials are displayed instead.
- Click Change profile picture.
- Select the image you want to use, and click Open.
- Crop the image to your liking.
- Click Crop.
Change your email address
- Click Edit next to your Email Address in the User Information section. A dialog box appears.
- Enter your new email address. Click Save.
Your new email address is shown in the User Information page.
Change your Xactware ID password
- Click Manage My Xactware ID.
- Click Change Password to edit your Xactware ID password. You can also change the information in any of the following fields: Xactware ID, First Name, Last Name, Phone Number, Alternate Email Address.
- Click Save.
See Xactware ID Help for more information about your Xactware ID. See Manage Accounts for information about linking your Xactware ID to an XactAnalysis account.
View your company rights by data set
In the User Information page you can view a summary of your company rights in the Company Rights table. This table is view-only. For more information about user rights, see User Administration.
Choose a default language
- Select a language in the Language Setting section.
- Click Save at the bottom of the screen.
When the screen is refreshed, XactAnalysis QR is displayed in the language you selected.
Choose a time zone for your user
- In the Time Zone Setting section, select a time zone from the menu.
- Select the check box to automatically adjust for daylight savings, if desired.
- Click Save.