Assignment Queue by Zip
 Updated
by
Arianne G.
Updated
by
Arianne G.
Access Assignment Queue by Zip
- Select Assignment Queue by Zip from the Assignments menu. A map colored by density of assignments is displayed.
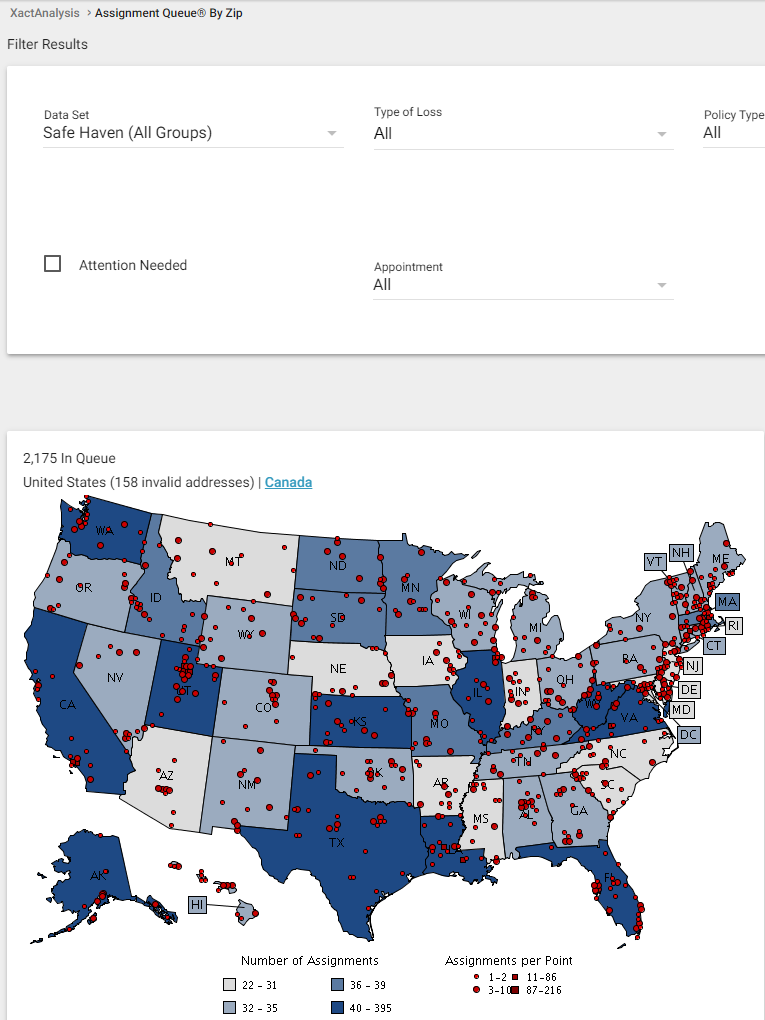
- Hover over a state to view the its number of assignments. As you drill down, the map displays each assignment’s location.
- Hovering over a geographic area shows the number of assignments in the area and a link to assign all assignments.
- Hovering over an individual assignment shows the assignment's claim number.
- The Filter Results area enables you to filter assignments by data set, type of loss, policy type, job type, CAT/non-CAT, attention needed, and appointment.
- The Map Settings area enables you to jump to a specific postal code and select a map size. Apply your desired settings.
- Click Filter.
- Click a state and county to drill down to assignments by county and zip code.
- Select the check boxes in the table to display colored circles on the map that correspond to the colored boxes on the table.
Assign from Assignment Queue by Zip
- Select a state in the map and click a county or zip code area. The assignments are displayed on the Assignment Queue Search Results page.
- Select the check box for each assignment you want to assign.
- Select Assign from the Select an Action menu.
- Click Go.
Or
- Select the Assign radio button above the map.
- Click a zip code area on the map. A dialog box appears.
- To assign assignments to an adjuster or contractor in the current data set, click the Load adjusters check box. Click an adjuster. Click Assign.
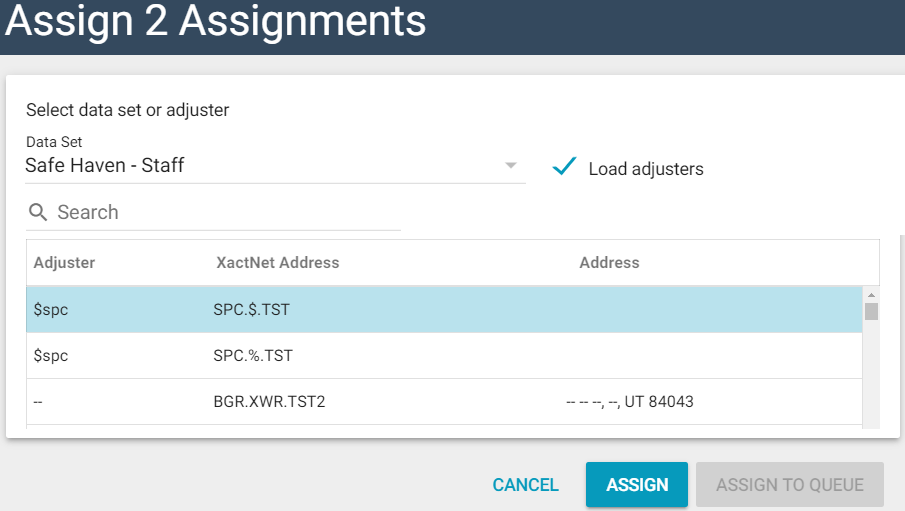
Or
- To assign an adjuster or contractor from another data set, select the Data Set drop-down list, click an adjuster, and click Assign.